
7 Hardscape Design Ideas Perfect for Chatham-Kent Backyards
Building a usable outdoor space requires more than just planting a few shrubs in the dirt. Many homeowners in Ridgetown struggle with flat uninspired yards that turn to mud after heavy rains. At Enhanced Landscaping & Design, we know that installing solid stone and concrete features is the only way to lock down your property. Using the right hardscaping services gives you a durable foundation that actually handles daily foot traffic.
Figuring out exactly what to build can feel overwhelming when you stare at an empty lawn. You need practical ideas that solve drainage issues while creating a great spot for weekend barbecues. We put together a list of solid design concepts that work perfectly for local properties. These proven setups keep your yard looking sharp and functioning properly through every season.
What We Cover Today:
- Tip 1: Multi Level Paver Patios
- Tip 2: Functional Retaining Walls
- Tip 3: Permeable Paver Driveways
- Tip 4: Dedicated Fire Pit Zones
- Tip 5: Interlocking Concrete Walkways
- Tip 6: Structural Garden Edging
- Tip 7: Integrated Outdoor Seating
- Frequently Asked Questions
Tip 1: Multi Level Paver Patios
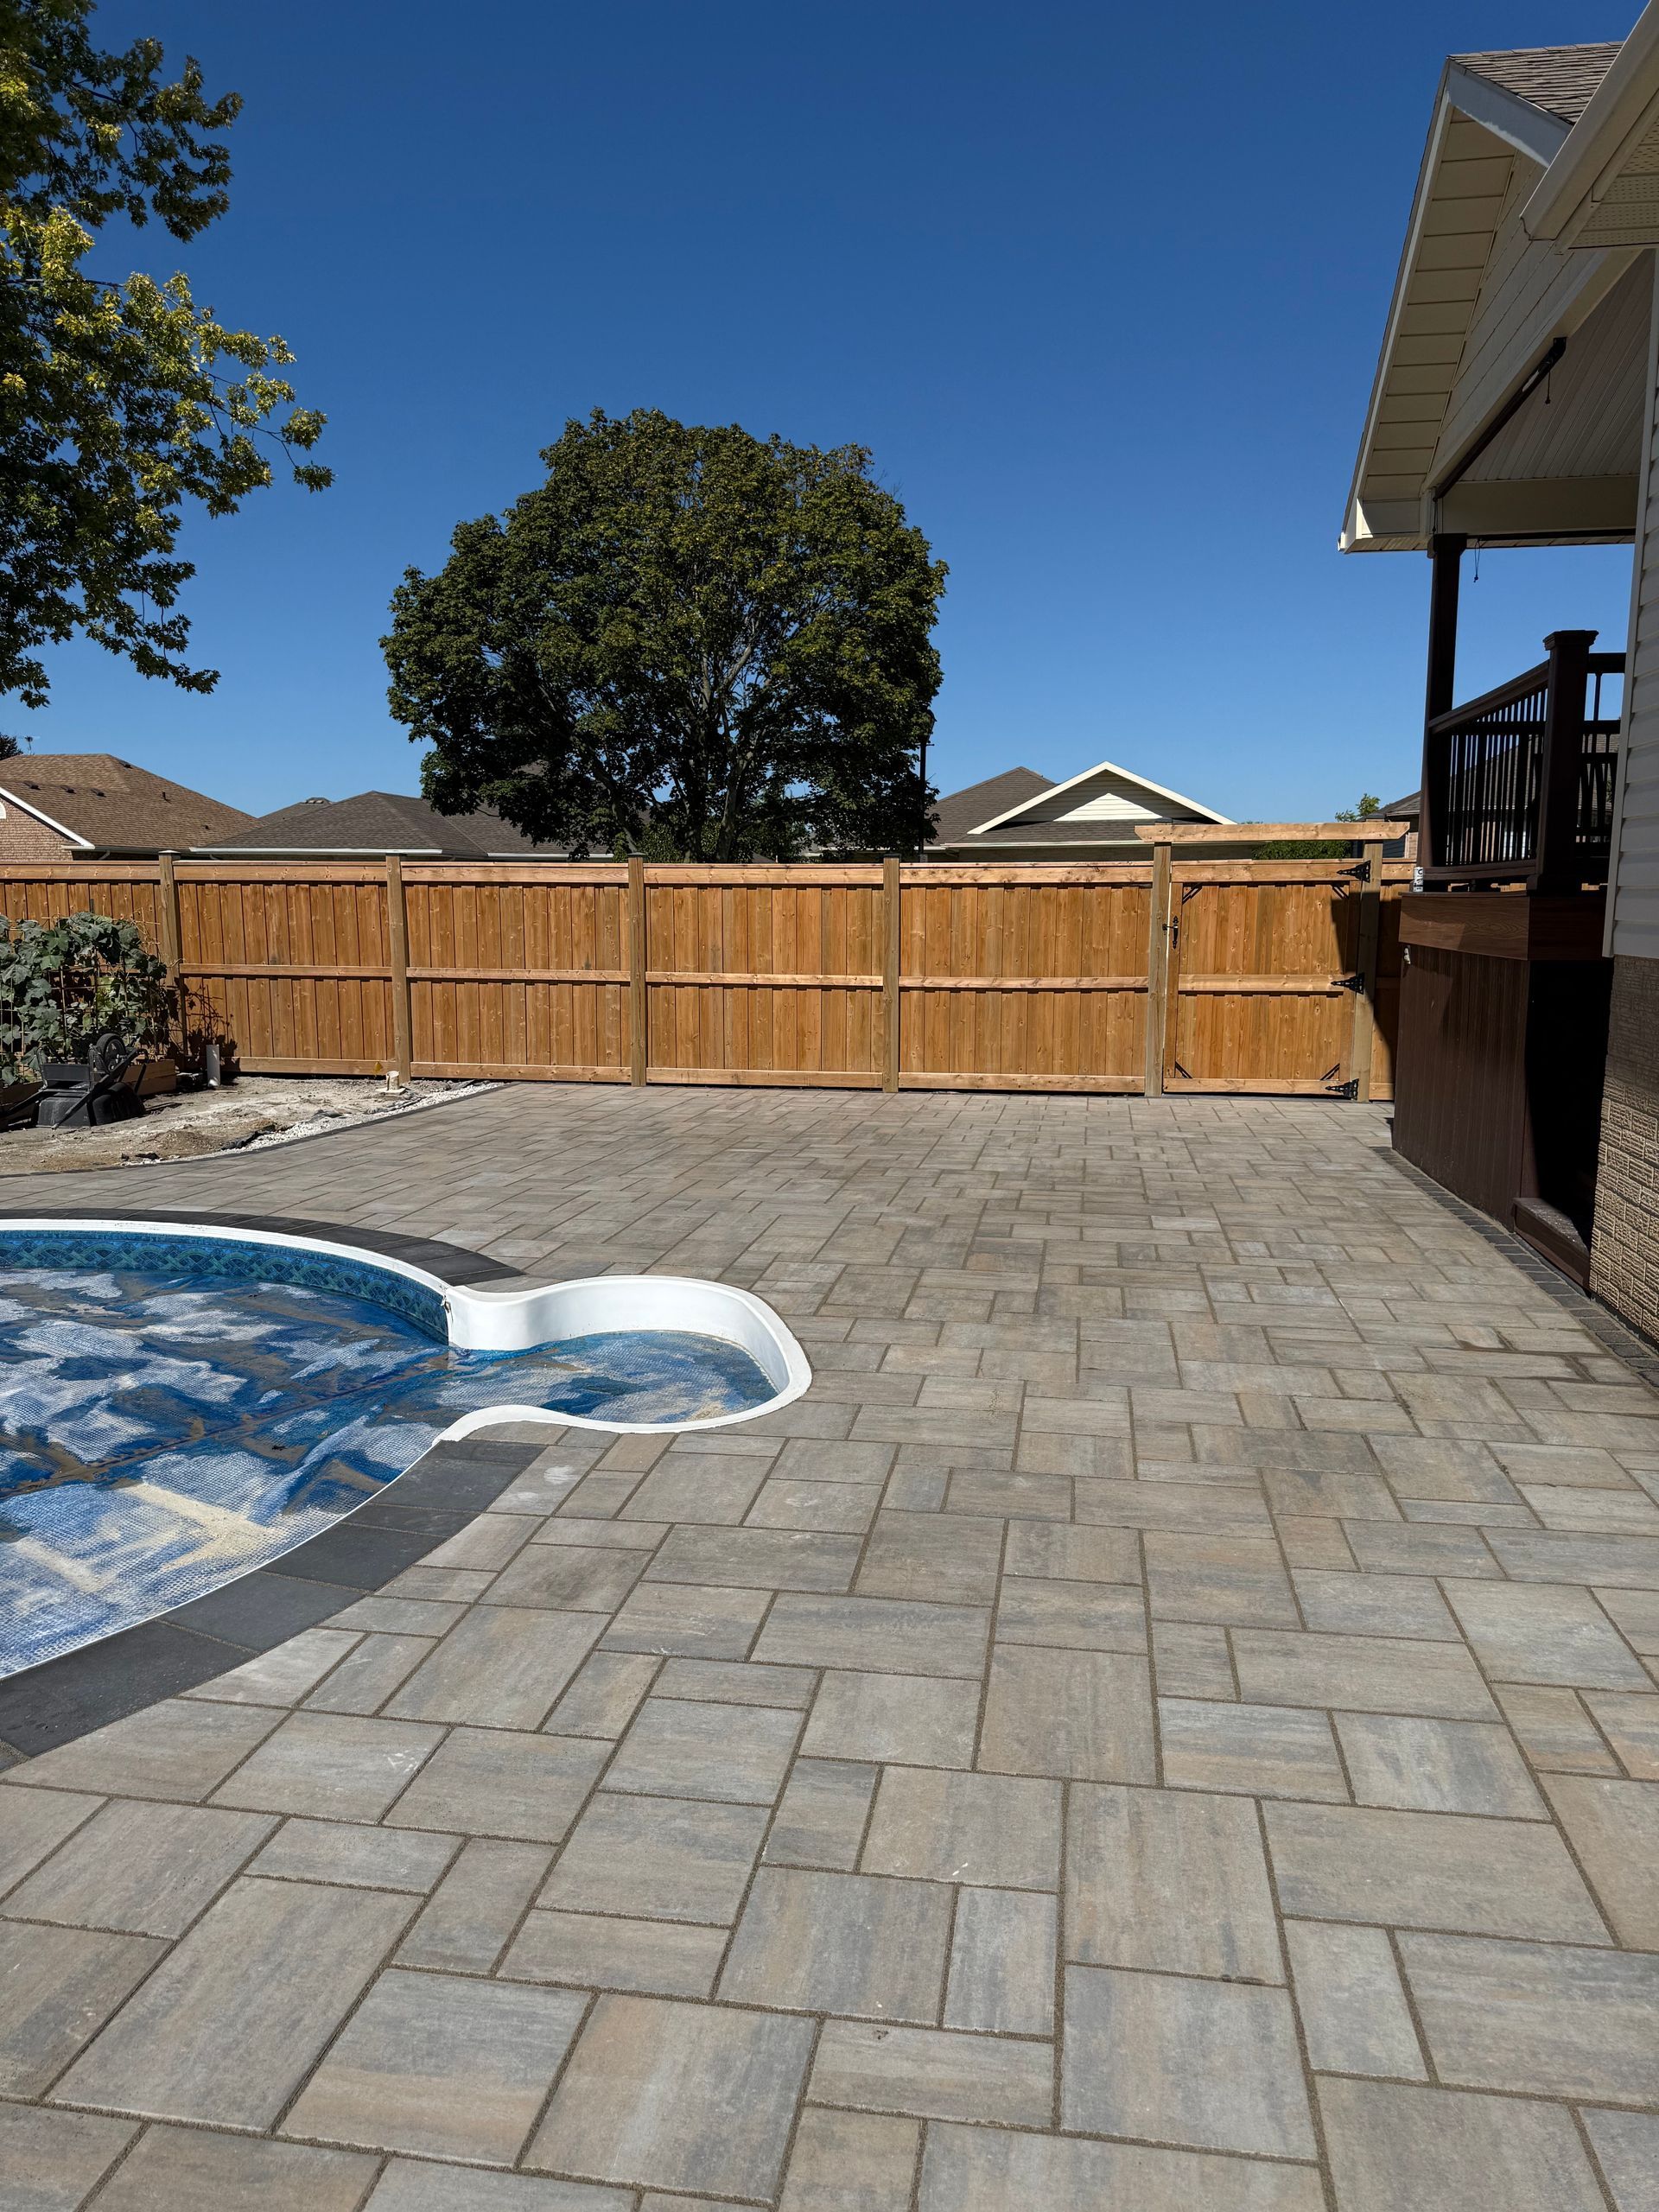
Building a single flat concrete pad often leaves your backyard feeling like a basic parking lot. Adding a second tier to your patio breaks up the visual space and naturally separates your dining area from the lounging zone. Our concrete contractors use heavy duty base aggregates to ensure the upper levels never shift or settle over time.
- Base Preparation: Digging deep and packing crushed stone prevents the ground from shifting under the weight of the new pavers.
- Step Construction: Using solid stone blocks for the transition steps creates a safe walking path between the different patio tiers.
- Water Runoff: Grading the lower level slightly away from the foundation keeps rainwater from pooling near your basement walls.
Tip 2: Functional Retaining Walls
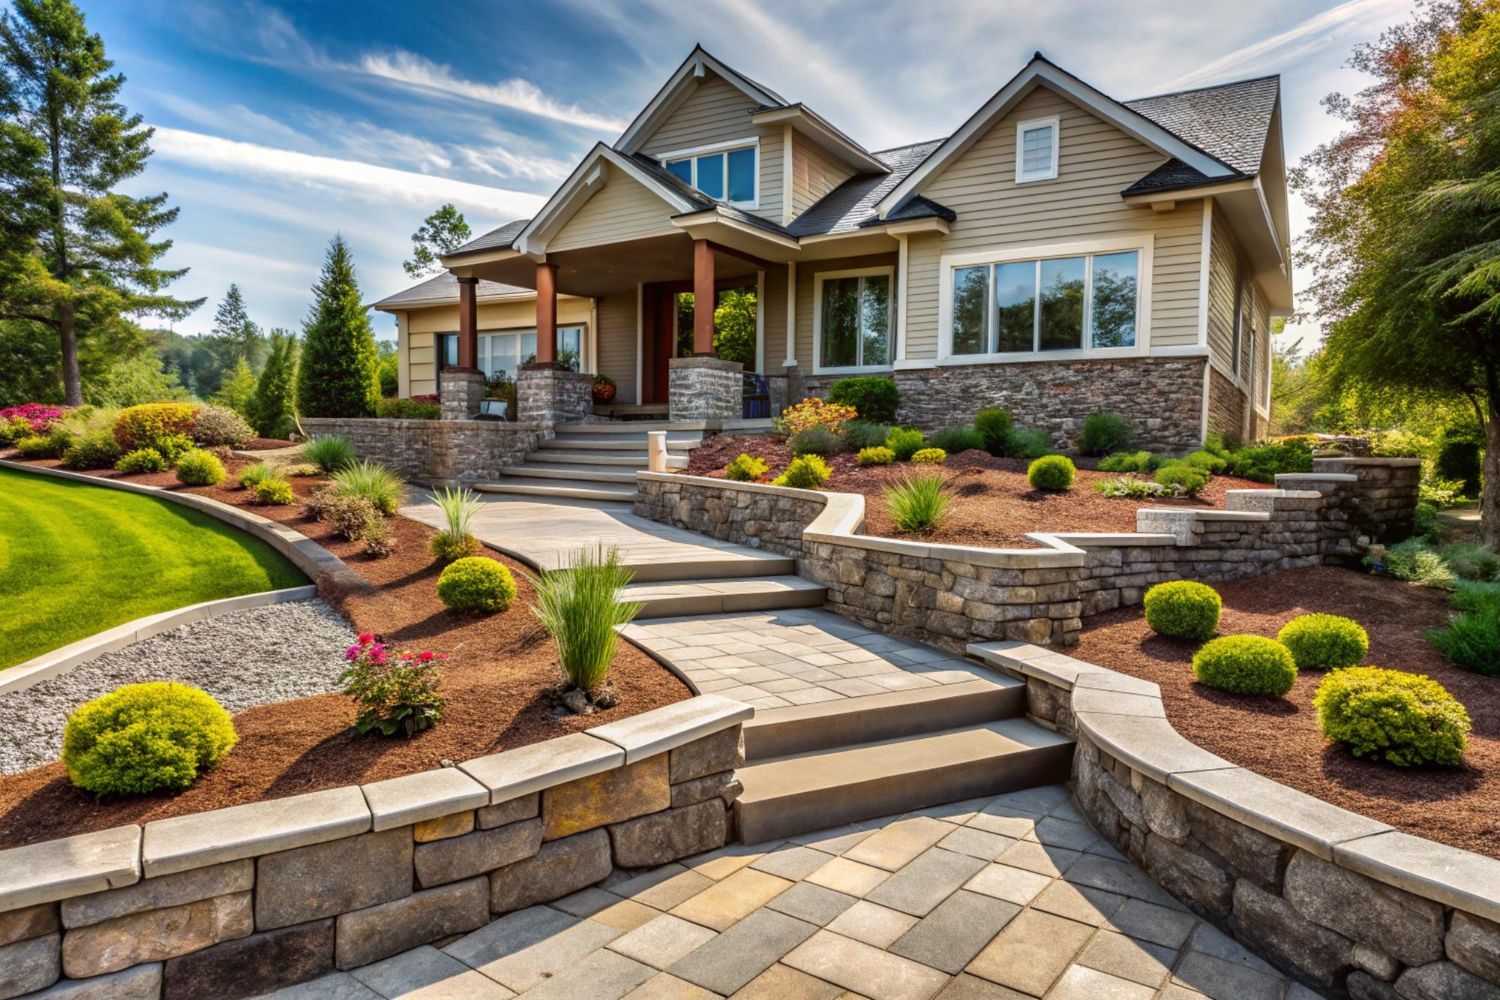
Sloped yards make it incredibly difficult to set up lawn furniture or mow the grass safely. Installing a heavy block retaining wall cuts into the slope and gives you a completely flat area to work with. We use premium Unilock materials to build walls that actually hold back thousands of pounds of wet soil.
- Trenching: Digging a proper footing trench ensures the bottom row of blocks remains locked firmly into the earth.
- Drainage Pipe: Dropping a perforated weeping tile behind the wall stops trapped groundwater from blowing out the stone blocks.
- Crushed Gravel: Backfilling the structure with clean gravel relieves hydrostatic pressure after heavy spring rainstorms.
This is a pattern the team at Enhanced Landscaping & Design hears regularly from homeowners looking to upgrade their outdoor living spaces.
► Client Experience: Colleen Thompson shared "Dawson and his team recently completed a patio project for us, which included retaining walls, stone caps around our pool, and a gazebo. The project was completed on time, within budget, and exceeded our expectations."
Delivering top notch hardscape features that fit the exact needs of the property is why Colleen trusts our crew.
Tip 3: Permeable Paver Driveways
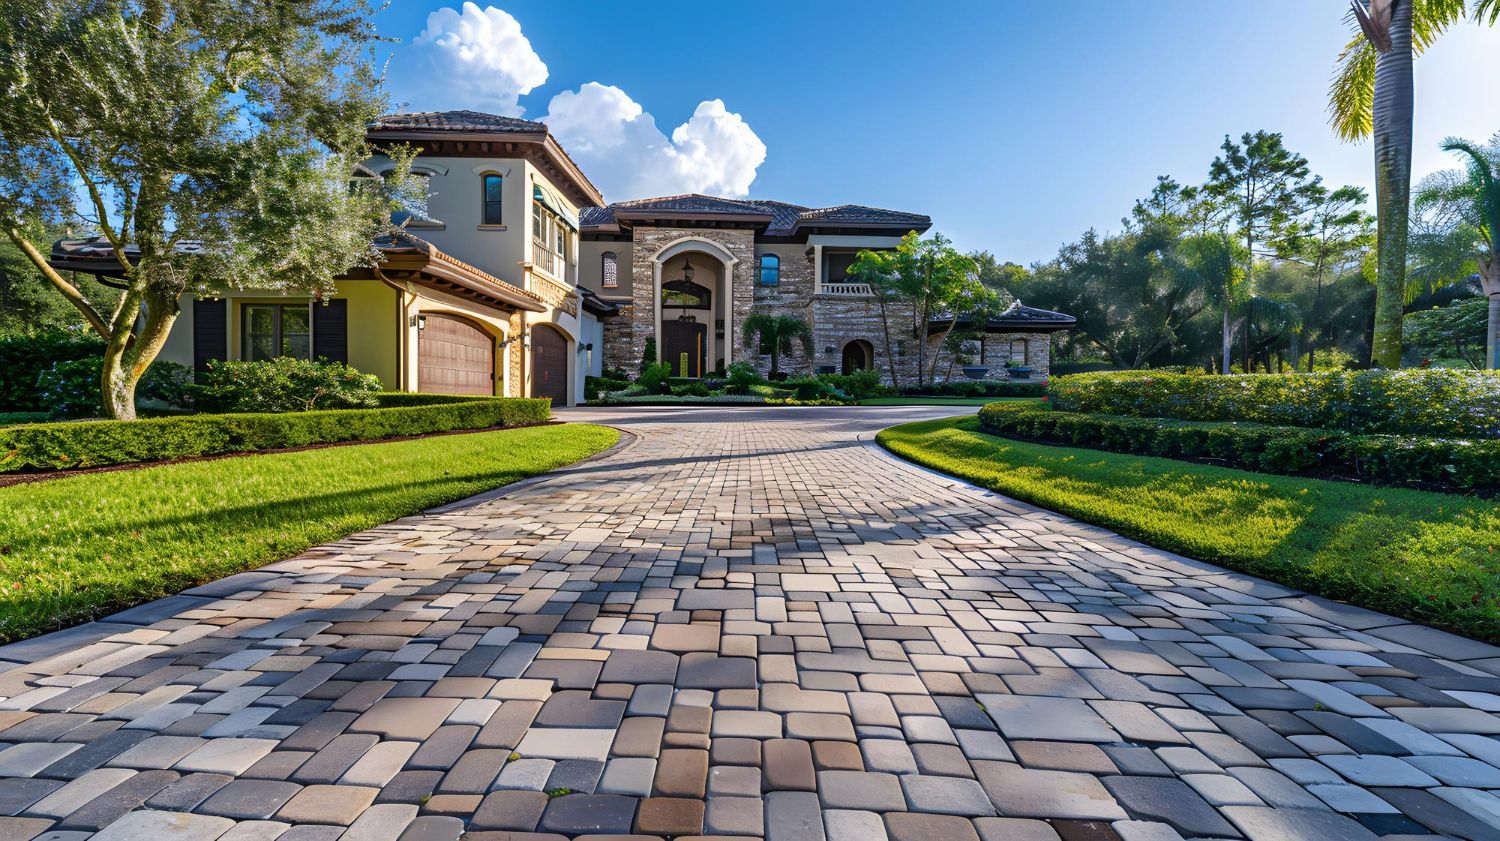
Standard asphalt driveways eventually crack and trap massive puddles of water right where you step out of your truck. Switching to permeable pavers allows rainwater to filter directly through the joints and back into the groundwater system. This setup drastically reduces the amount of icy runoff freezing near your garage doors in the winter.
- Joint Material: Using specific clear stone chips between the pavers keeps the joints open for water to drain rapidly.
- Subgrade Depth: Digging deeper than a standard driveway allows for a thicker layer of drainage rock underneath the surface.
- Edge Restraints: Pinning heavy plastic edging along the borders stops the outer bricks from migrating into the lawn.
Tip 4: Dedicated Fire Pit Zones
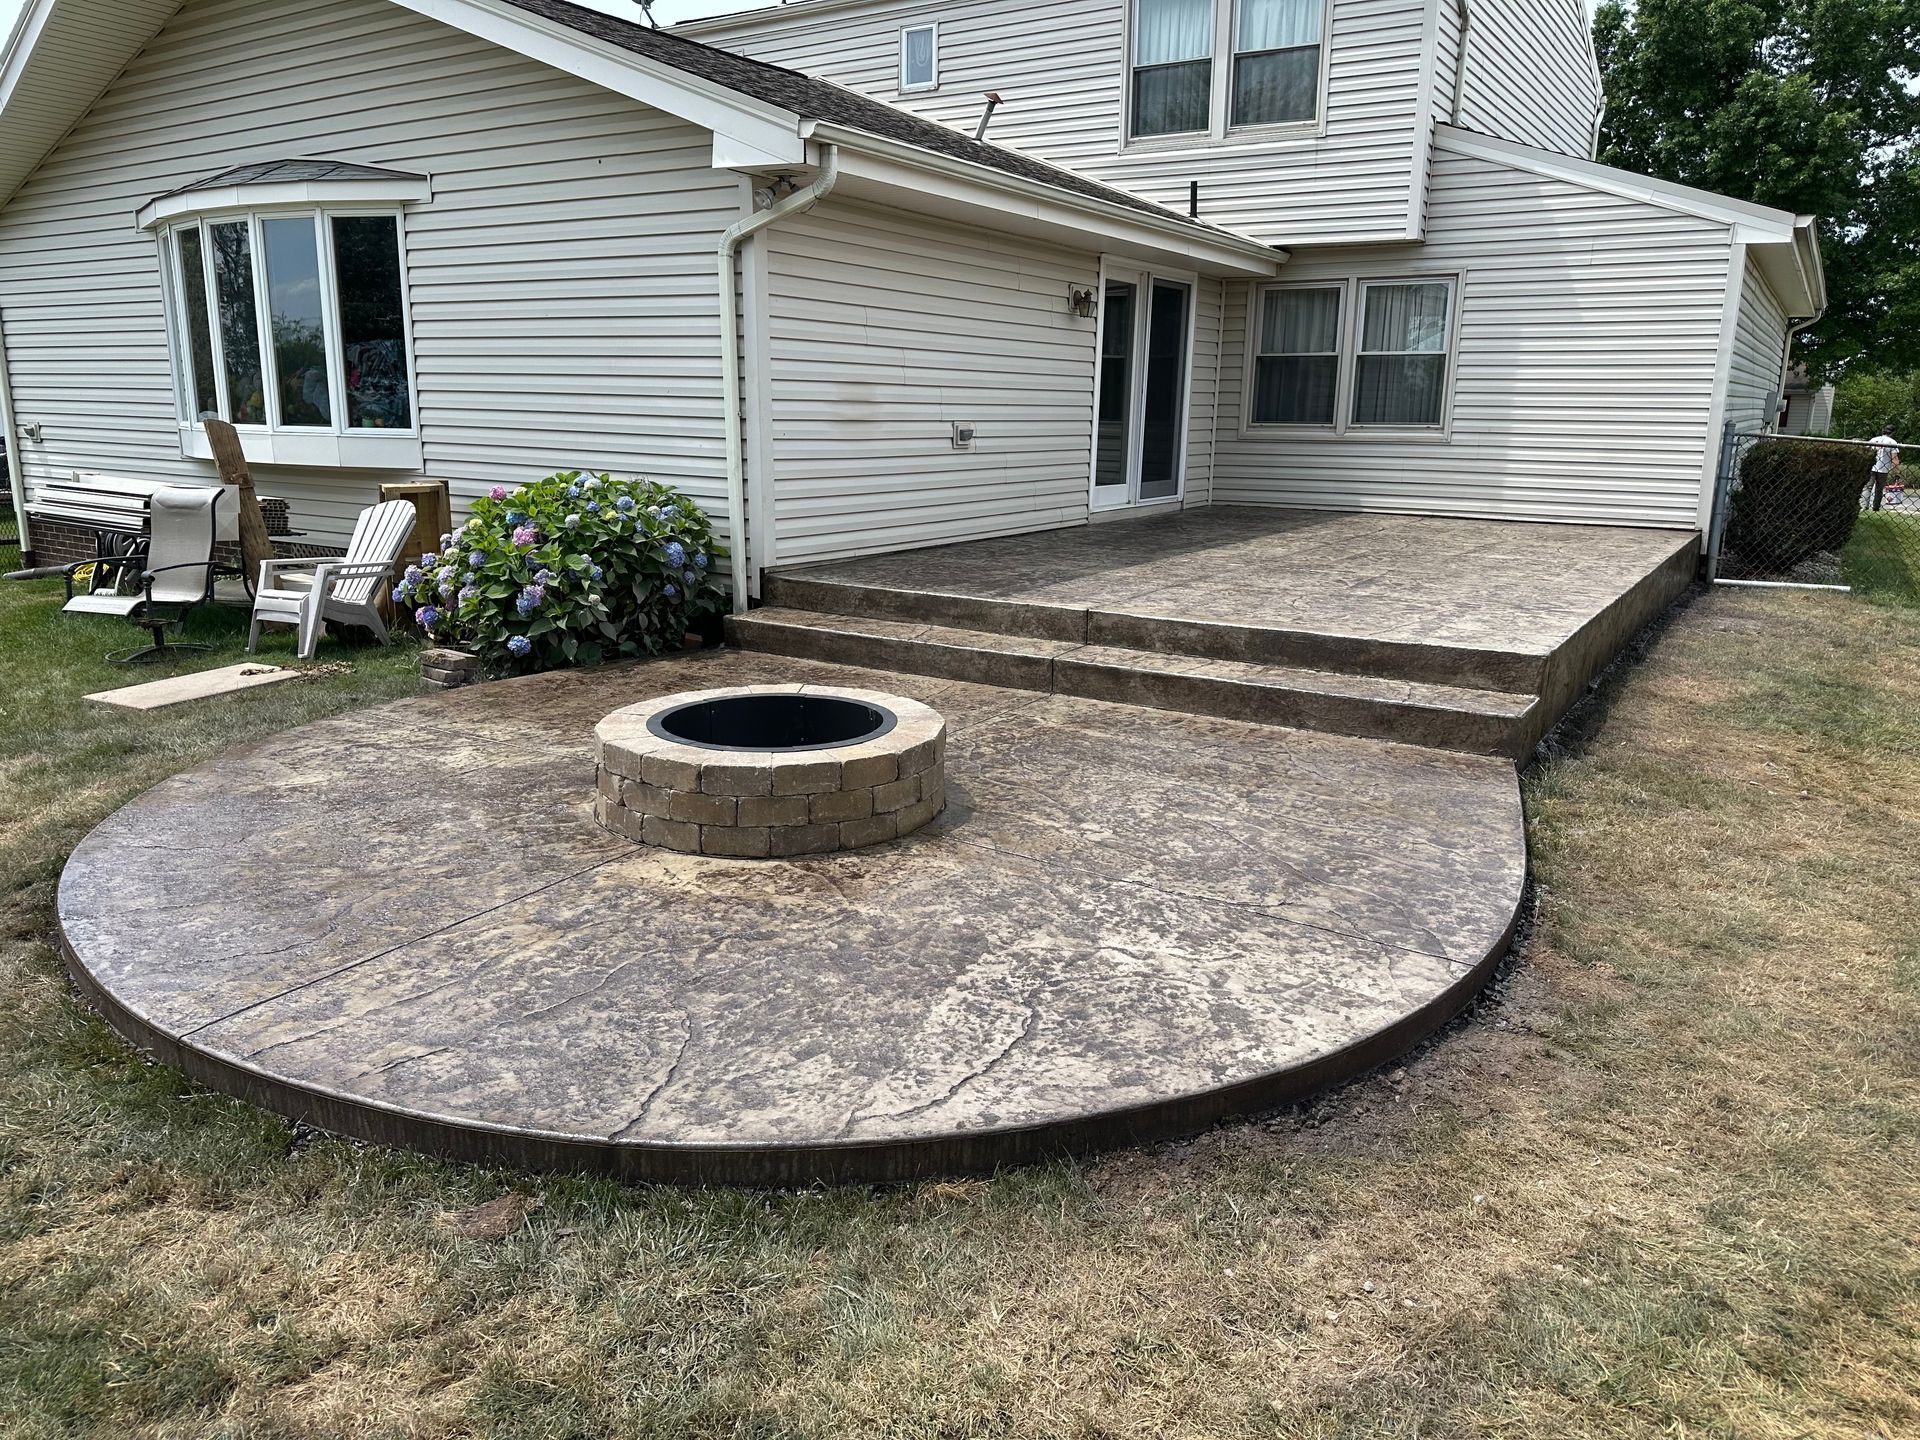
Throwing a metal fire bowl on the grass usually ends up killing your lawn and creating a muddy mess. Building a dedicated fire pit area using fire resistant stone gives your family a permanent gathering spot. Sinking the fire ring into a circular paver pad creates a safe boundary that keeps stray sparks away from dry grass.
- Heat Shields: Installing a steel insert ring protects the decorative concrete blocks from cracking under extreme heat.
- Seating Distance: Leaving at least three feet of stone surface around the pit ensures everyone has room to push their chairs back safely.
- Airflow Gaps: Leaving small gaps in the bottom course of stone allows oxygen to feed the fire for a cleaner burn.
Tip 5: Interlocking Concrete Walkways
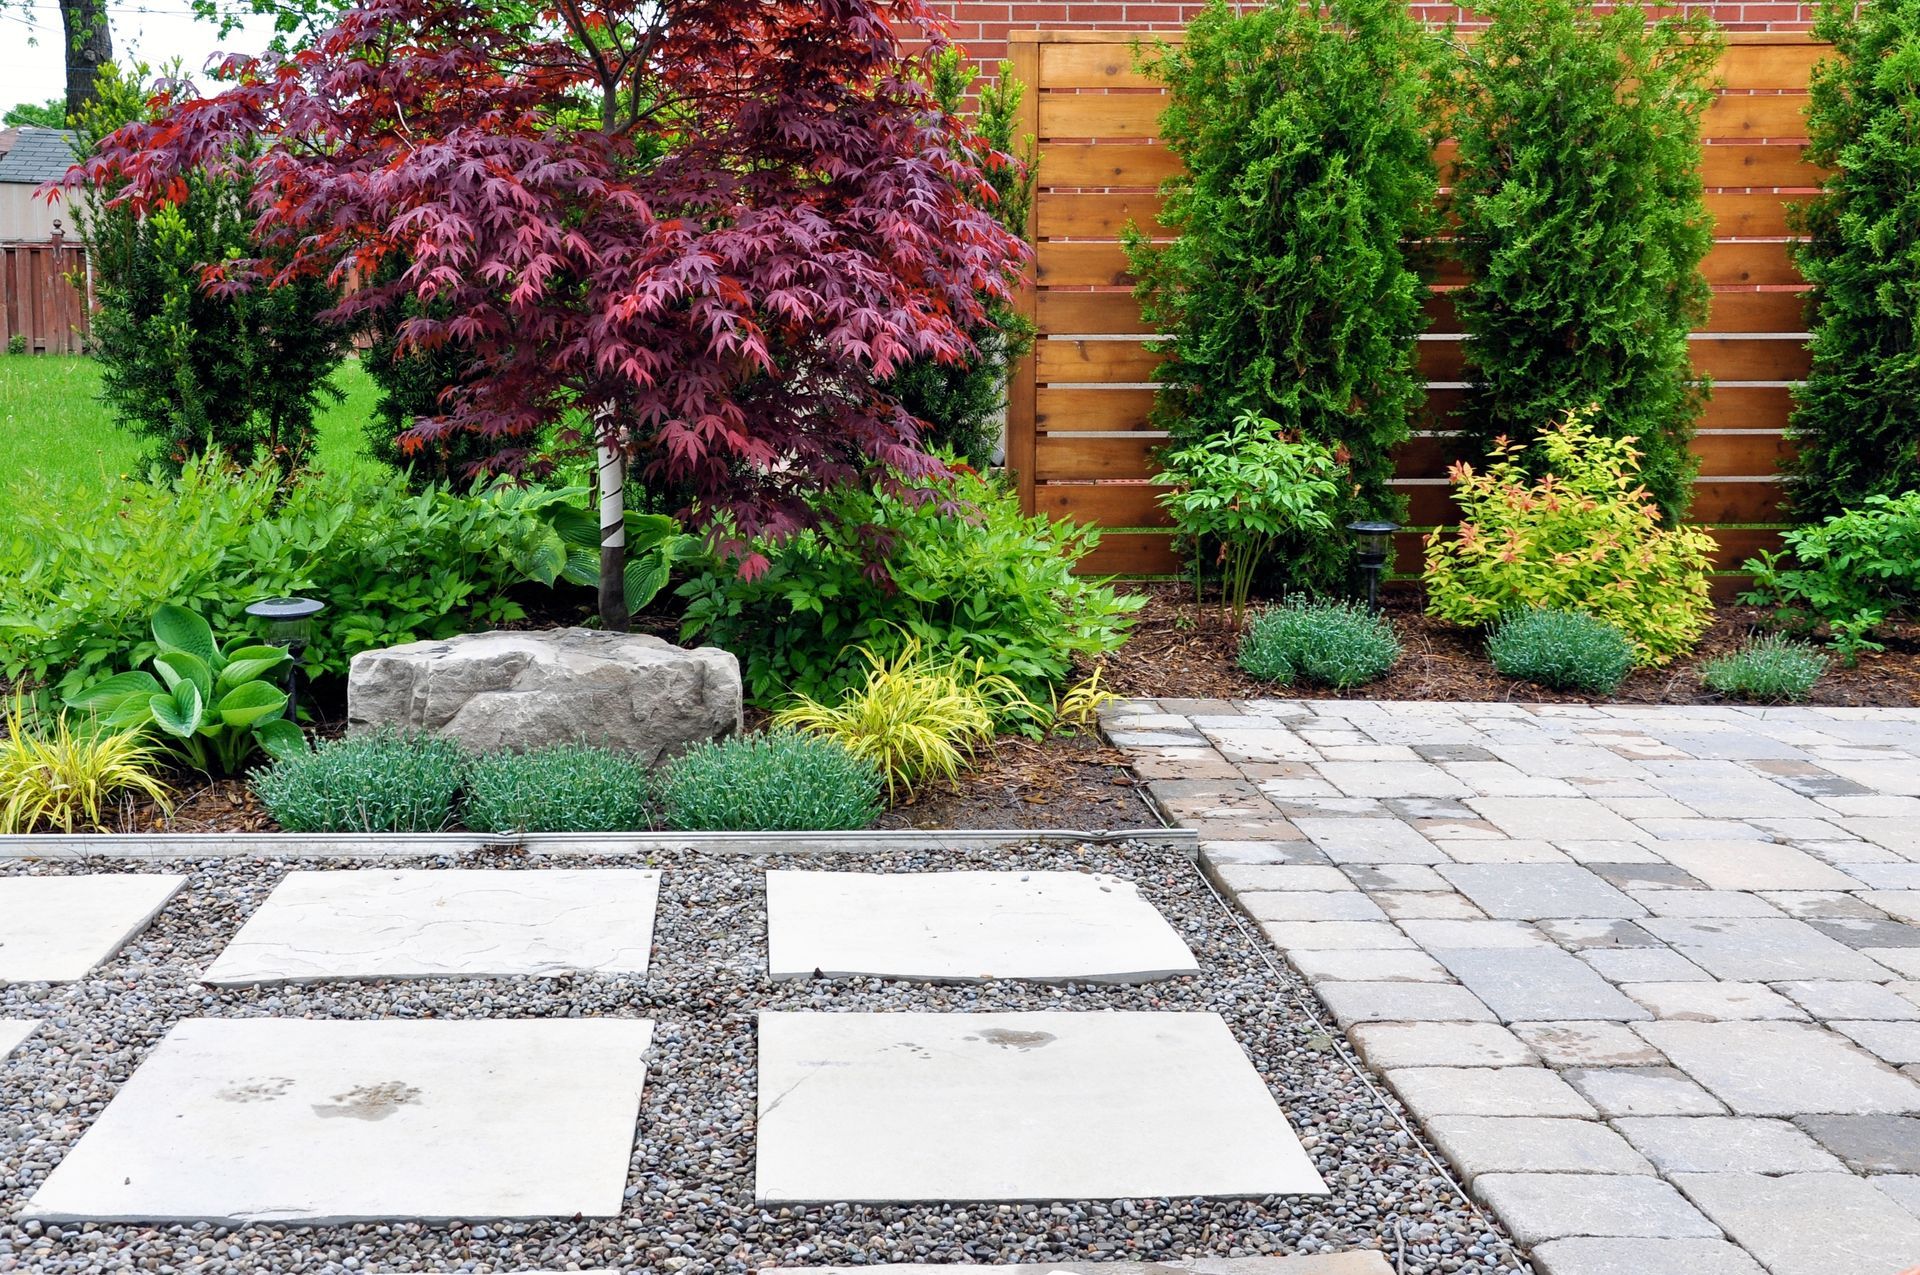
Walking through wet grass to reach your shed tracks mud straight into your clean house. Laying down an interlocking stone path creates a permanent dry route that handles heavy wheelbarrows and daily foot traffic. Using Unilock stones guarantees the pathway survives heavy winter freeze cycles without cracking in half.
- Soil Removal: Stripping away the topsoil removes the organic matter that causes standard sidewalks to sink and heave.
- Compaction: Running a heavy plate compactor over the granular base locks the gravel together for a rigid foundation.
- Sweeping Sand: Brushing polymeric sand into the tight joints locks the entire surface together and stops annoying weeds from sprouting.
Tip 6: Structural Garden Edging
Basic plastic garden edging always pops out of the ground after a few seasons of harsh weather. Swapping out cheap plastic for solid concrete edging stones keeps your mulch inside the garden bed where it belongs. This rigid border also gives your lawnmower wheels a solid track to ride on for a cleaner grass cut.
- Trench Depth: Burying half of the edging block below the soil line stops the border from tipping over during the winter.
- Leveling Sand: Setting the stones on a thin bed of coarse sand makes it easy to keep the top line perfectly straight.
- Corner Cuts: Using a wet saw to cut sharp angles ensures tight joints that hold the garden soil securely in place.
Tip 7: Integrated Outdoor Seating
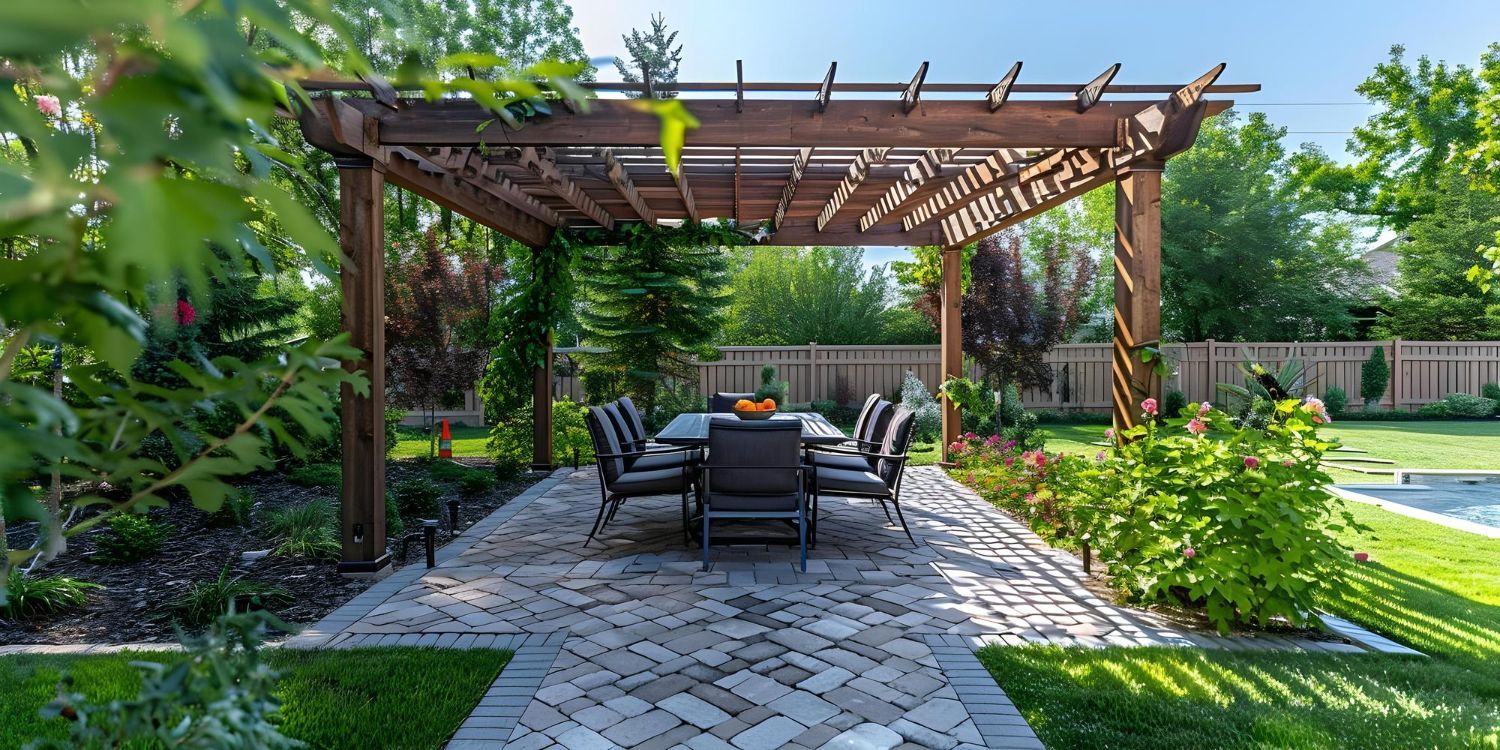
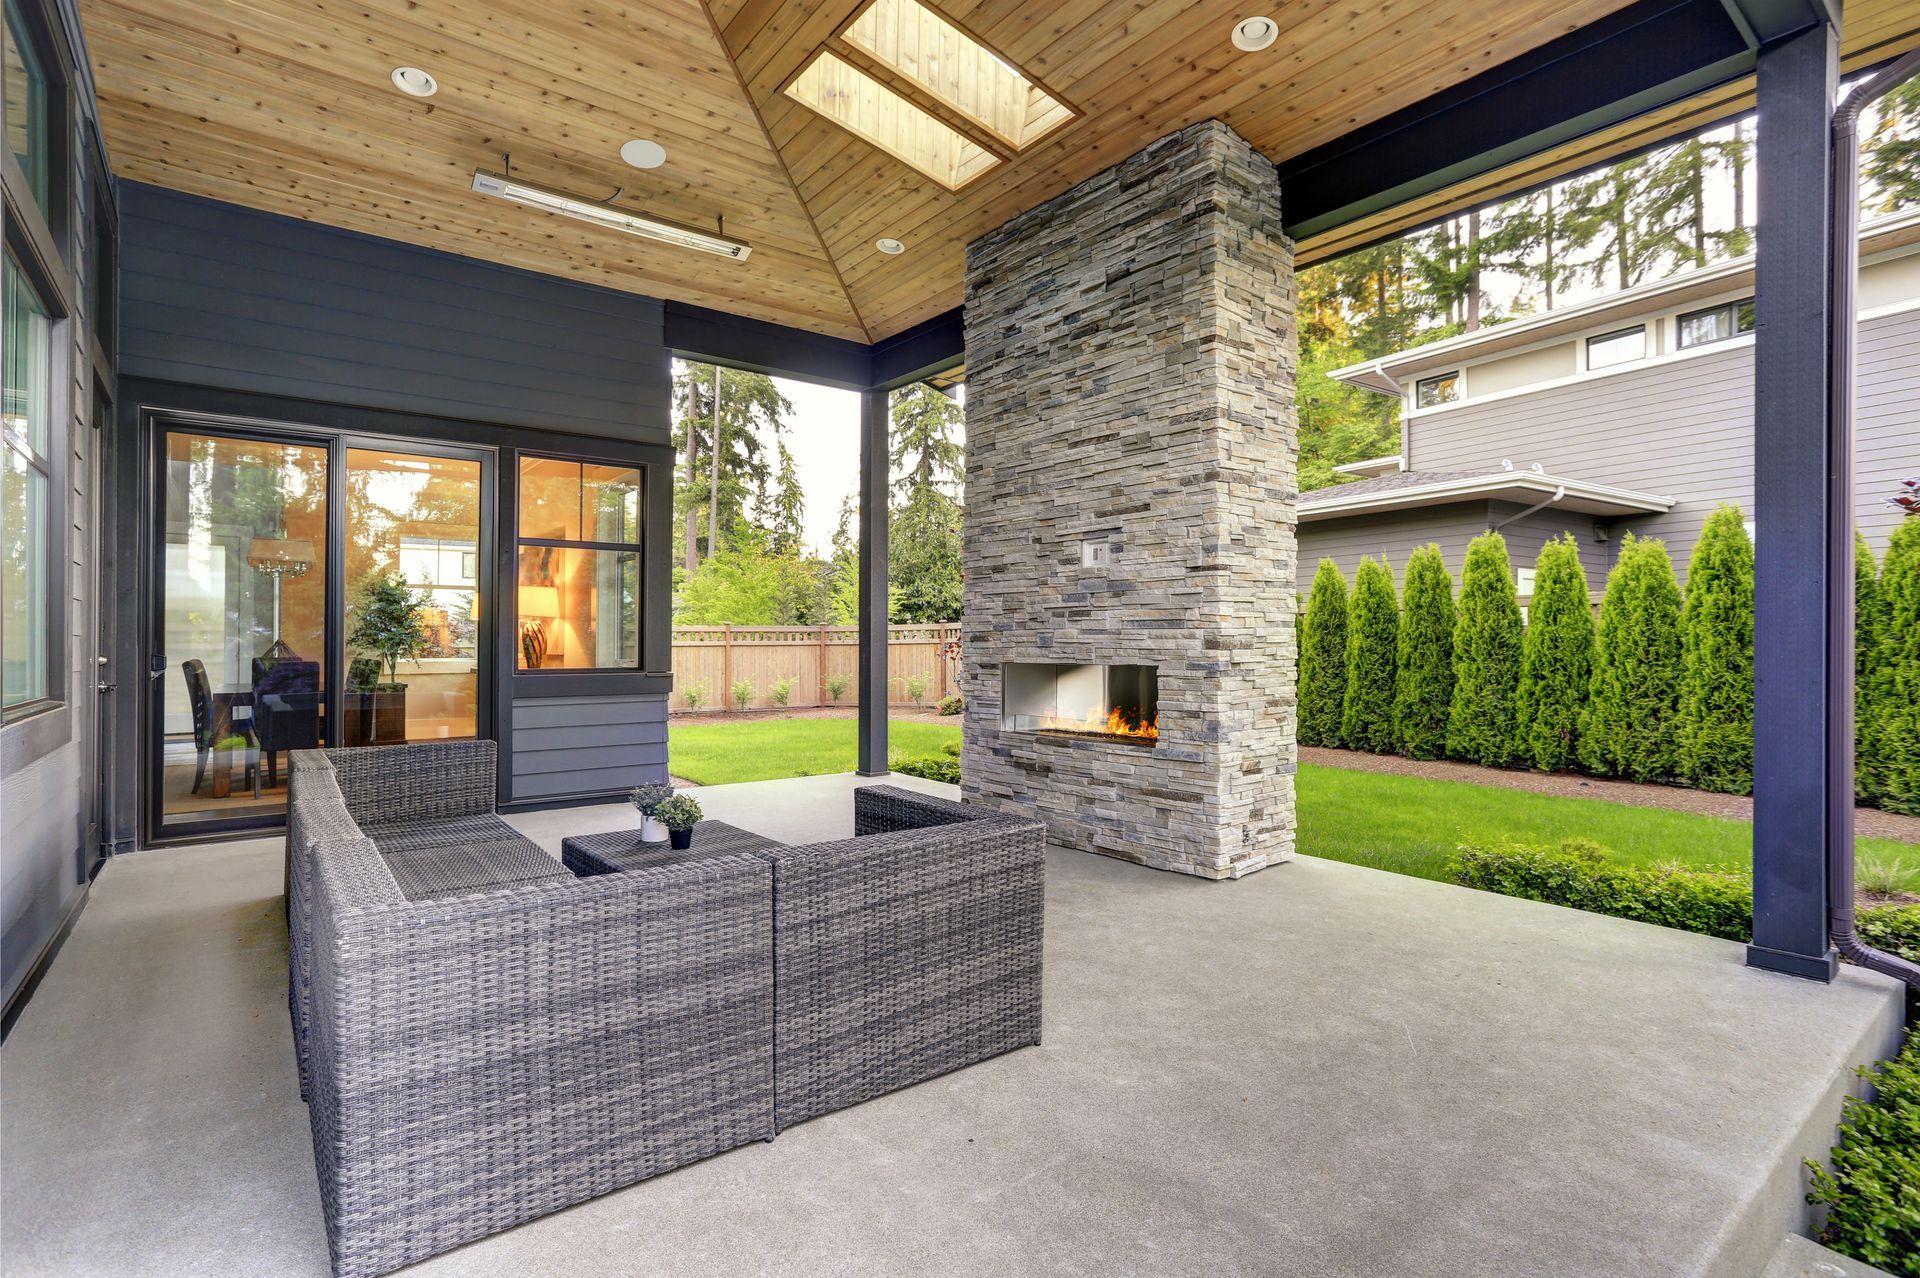
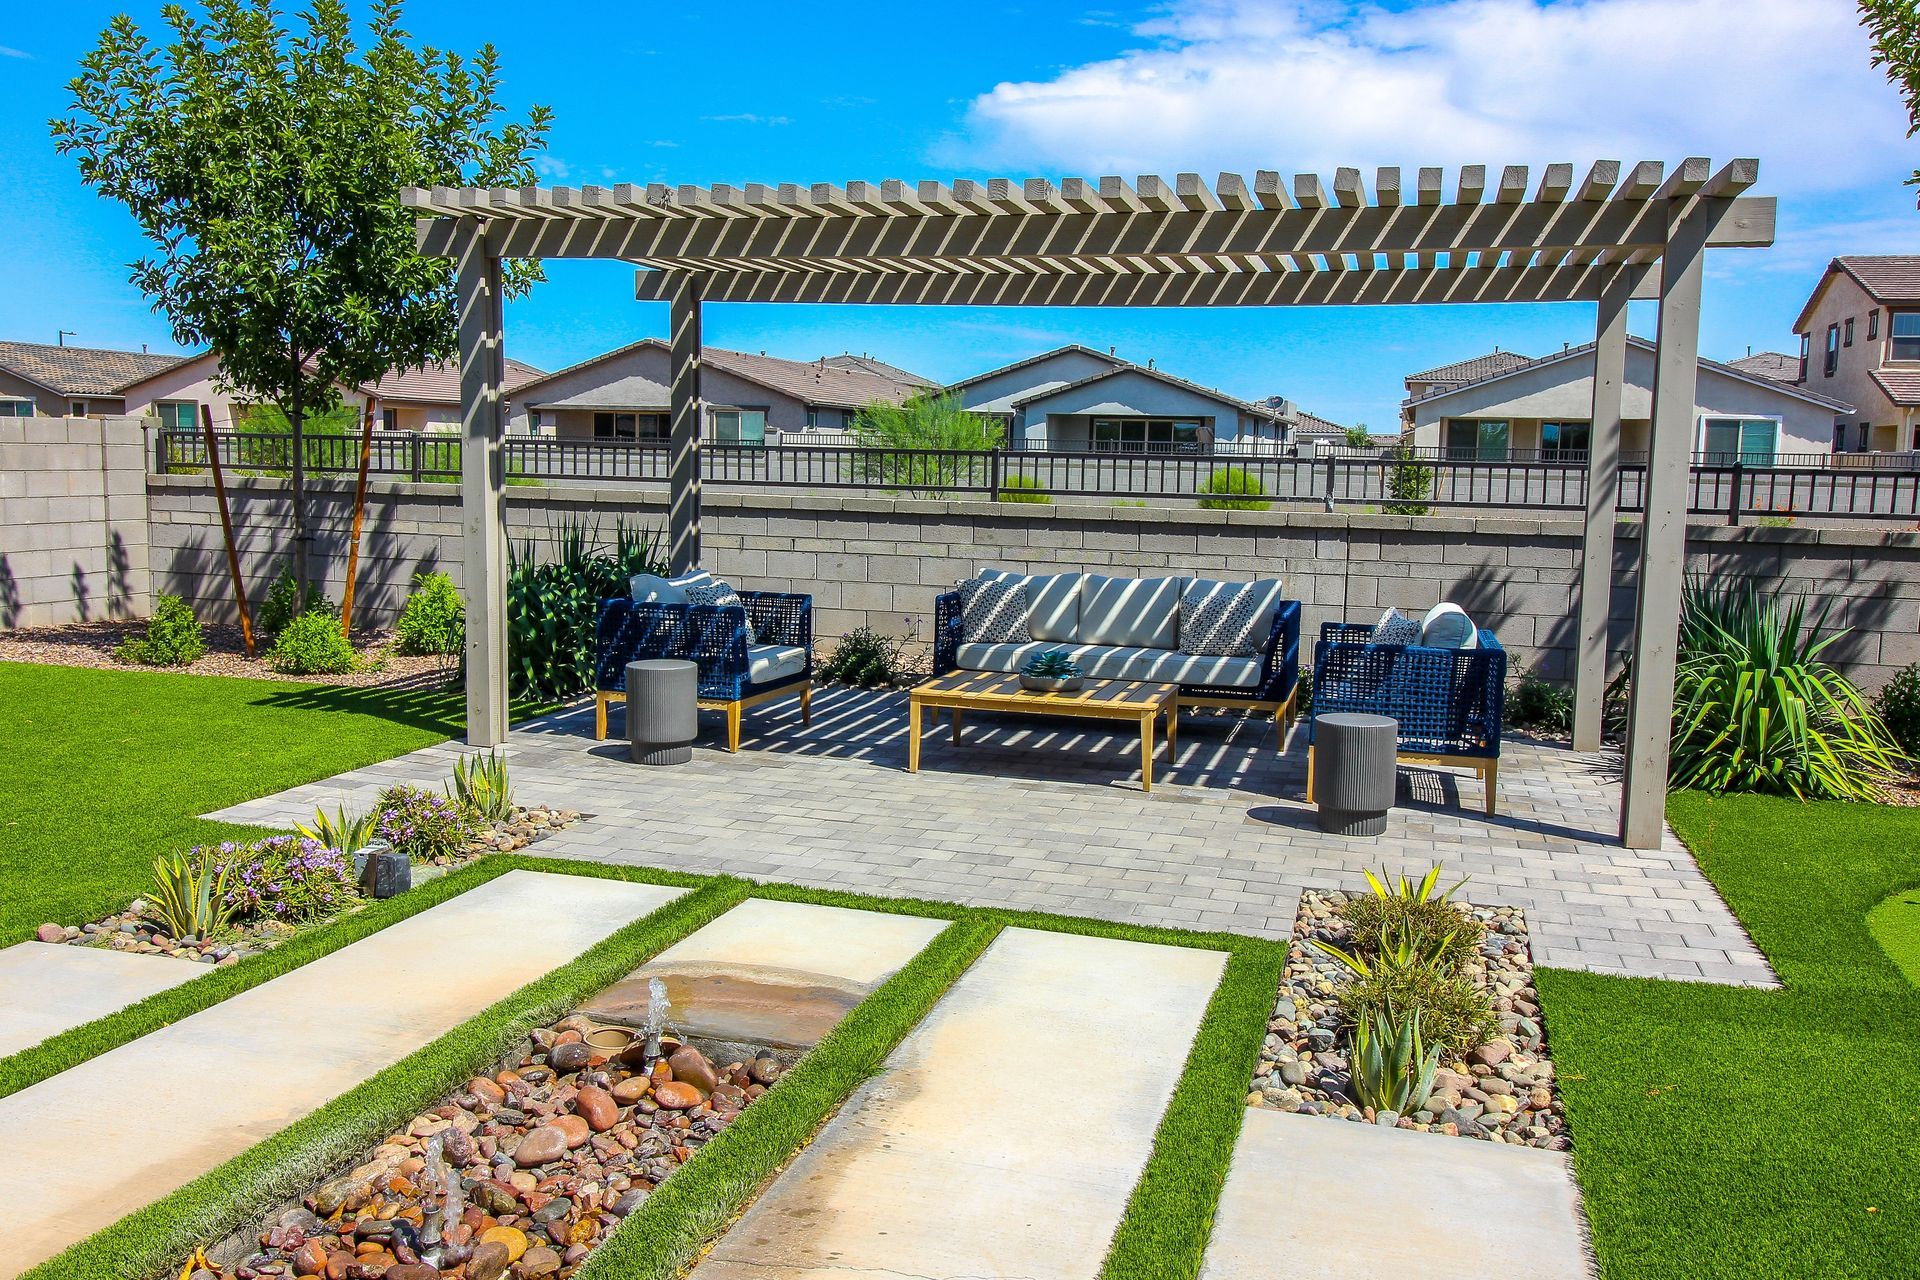
Dragging heavy plastic chairs in and out of the garage wastes time and ruins your yard aesthetic. Building permanent seating walls around your patio gives you built in benches that never blow away in the wind. Capping these sitting walls with smooth natural stone makes them comfortable while adding a massive amount of seating for large parties.
- Cap Adhesion: Gluing the top cap stones with heavy duty landscape adhesive stops them from sliding off when people sit down.
- Wall Height: Building the bench to a standard eighteen inch height matches the ergonomics of a normal dining chair.
- Pillar Accents: Adding taller columns at the ends of the seating wall creates a great spot to place drinks or mount outdoor light fixtures.
Frequently Asked Questions
What materials do you use for your hardscaping projects?
Our crew relies heavily on premium Unilock products for all of our paving and wall building jobs. Unilock manufactures incredibly dense concrete stones that resist road salt and stand up to heavy impact. Using high grade materials ensures the finished project looks great and lasts for decades without crumbling.
How long does a typical hardscaping project take?
A standard patio or walkway usually takes our team three to five days from digging the dirt to sweeping the final sand. Larger jobs that include retaining walls and driveway paving require a couple of weeks to finish properly. We never rush the excavation or base preparation phases because cutting corners underground leads to sunken stones later.
Get Your Yard Ready For Summer
Investing in solid stone features instantly makes your property more functional and significantly easier to maintain. Taking the time to build a proper foundation ensures your new outdoor living space handles everything the weather throws at it. Reach out to our crew today to schedule an honest site evaluation and start planning a durable layout for your property.
Share This Blog